Friday, January 27, 2012

Side Dish! Kale Salad


    Kale. . . how do you eat that?  Kale just goes to prove that things that are good for you do not taste good!  guess what things that are bad for you do not taste good without the right preparation, seriously try a tablespoon of sugar delicious? not even close!  Somehow we all know that Kale is this amazing food and we are supposed to eat it to be healthy but I cannot afford a vitamix (yet) and I don't know how else to make it unrecognizable.  Maybe you have only tried kale when it is cooked to death in a soup or smothered in some sauce after it has been boiled. . .there is a better way!  it is sweeping the nation so much so that it randomly came up in conversation at the DMV last week and someone challenged me to a Kale Salad 'Cook'-Off!  What am i talking about. . . learn these words: massaged kale salad.


Massaged Kale Salad

     Sure we all giggle about it being 'massaged' but I am guessing another year from now and this style of salad will be so accepted as the norm that it will just be kale salad.  Here is what you need:

1 bunch Kale (i prefer Lacinato aka Dion Kale)
1 Tbs rice vinegar
1 tsp red wine vinegar
2 tsp olive oil
2-3 cloves garlic
1 tsp salt
1 Tbs sesame seed

The mechanism employed to turn this roughage into a palpable salad is a form of non-cooking which uses the acidity of vinegar and some rough handling to break apart the cells and fibrous nature of the kale.  Unfortunately the stems are too much fiber and so first we take the stems out 


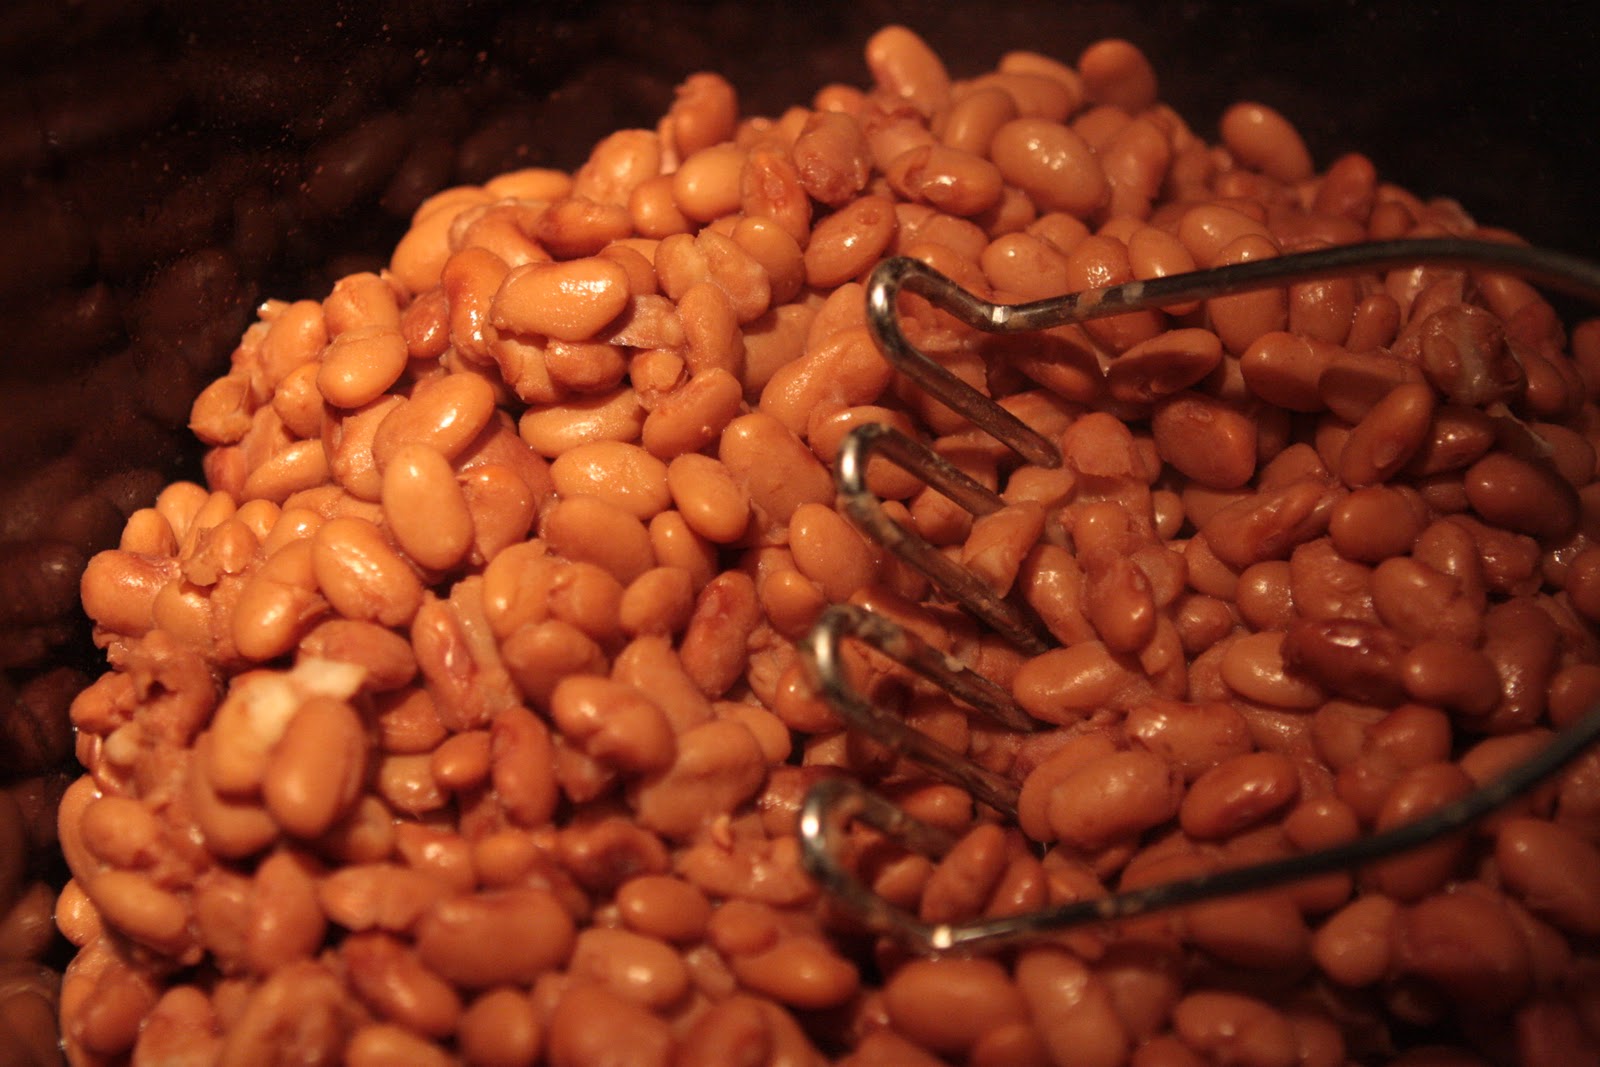
you can cut them out or just use your hands to rip out the stem, doing it for the whole bunch.  The stems may be used in a lot of different ways.  Not that long ago I diced them and tossed them in a curry, they work well as a hearty and healthful filler in any stir fry or soup or vegetable casserole etc.  If you are keen on making veggie broth these stems are great (i know I should do that more often) or just put them in the compost and grow more kale! 

The way that the stems rip out leaves the leaves in this nice V shape which makes it really easy to slice the Kale into ribbons by cutting across the V.  Obviously don't be obsessive about getting ALL OF THE STEM, you just need to get the hefty part because the stems will break down some in the vinegar bath.   


For my vinegar bath I like to use a combination of Rice vinegar and red wine vinegar.  The high acidity and soft flavors add a nice aroma without overpowering the nature of the kale.  Toss the kale with the vinegar and the salt and let it sit for a minute while the garlic gets diced.


I use raw garlic. . . yes raw garlic, the same trick that mellows out the kale works on the garlic but I still dice the garlic extra fine, not only so I avoid a big garlic bit surprise but also to spread that tasty garlic flavor all over.


Now the massaging . . .which I am realizing right now is more like brutalizing.  Toss in the garlic, olive oil and the sesame seeds and then start really working the kale.  If you are having an angry day feel free to punch the kale but usually I go with the crushing and mixing motion.  Take up small hand fulls and crush as hard as you can, repeat this taking from the bottom of the bowl so the vinegar/garlic/salt dressing gets mixed through the salad

At this point give it a taste and determine if you want more salt or garlic or vinegar but don't expect it to taste perfect yet.  The vinegar needs time to work and i would suggest a minimum of 30 minutes before serving this salad.  

     The good news is that is it!  that is the basic recipe of course the fun is in taking a basic recipe and adding some flourish.  Often I will go for a spicy savory and toss in some oregano, thyme, basil, black pepper etc and of course more sesame seeds (what can I say).  This salad was being made while I had a bit of a sweet tooth and so I added some extras accordingly:

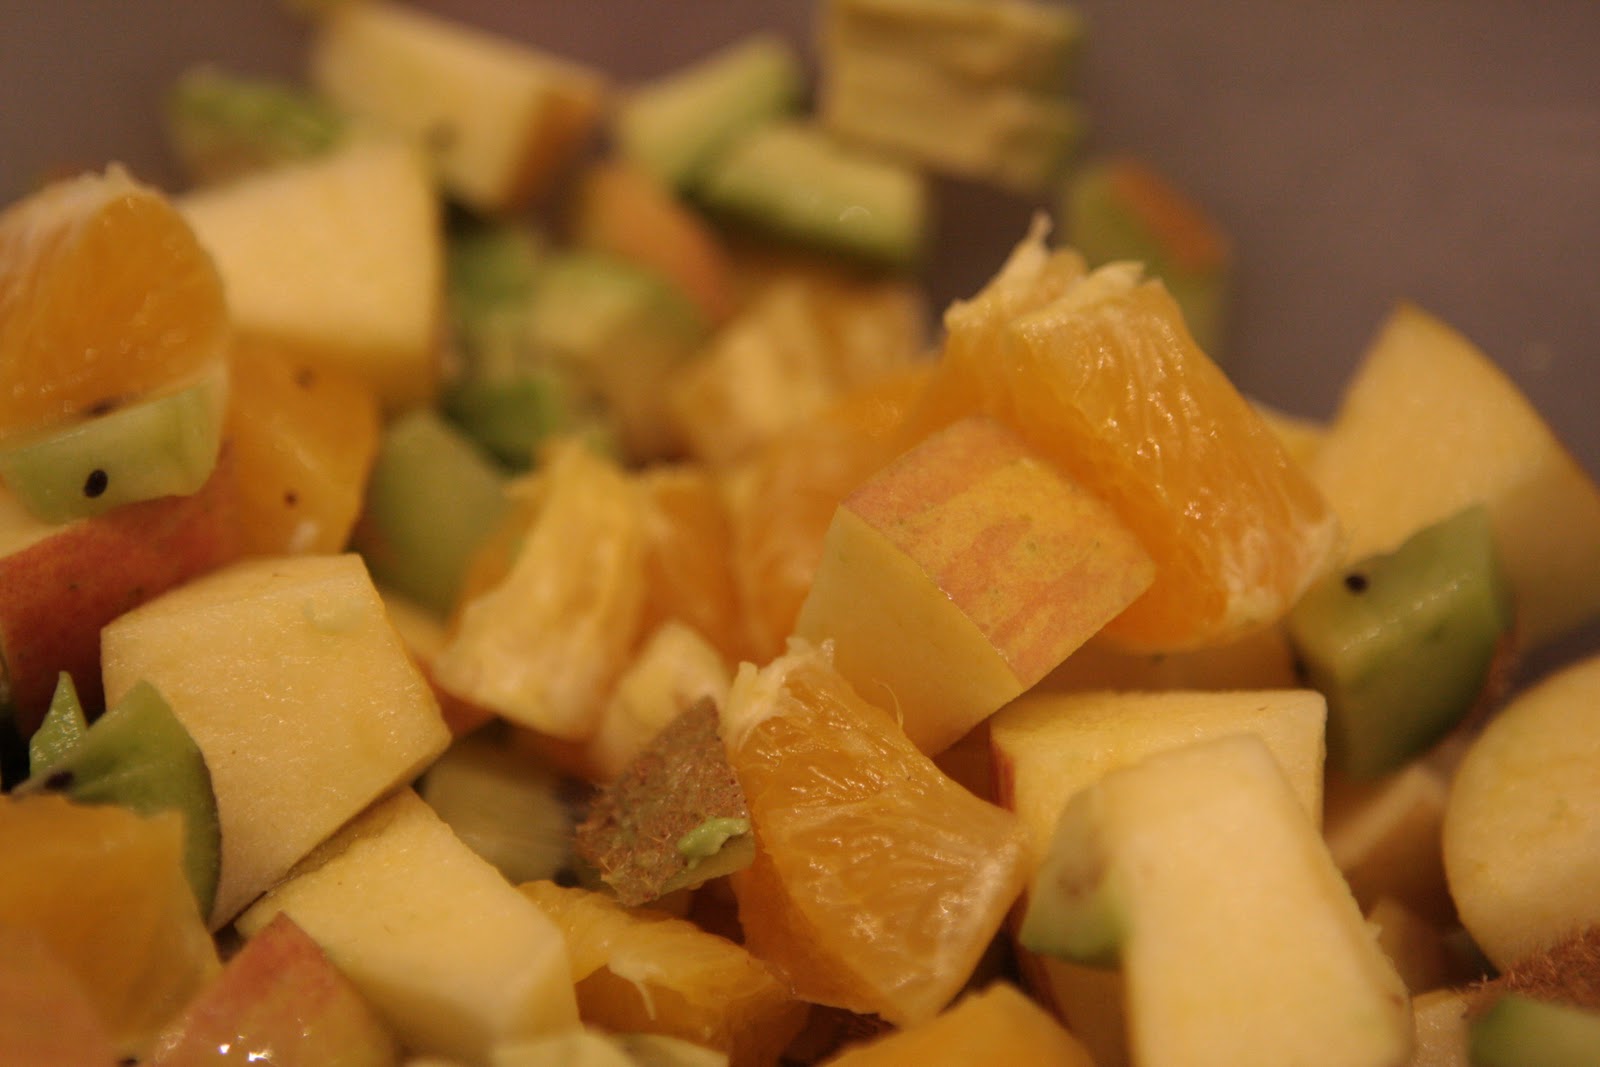
3 pieces candied ginger
1/2 avocado
1/2 orange
1 tbs sesame seeds
1/4 C walnuts


Dice it all up and toss the salad once more and enjoy!  MY salad came out a bit overly moist this time because  I went over board with the olive oil and I am always surprised by how much this raw salad shrinks down.  The whole bunch which previously filled my mixing bowl un-cooks down to nearly 1/3 its original size . . .and that is after adding the extras.  If you are planning on feeding more than 2-3 people get a second or third bunch of kale, or use purple cabbage as a nice filler, the point is plan on the volume reducing a lot. . .and plan on people wanting to eat a lot of this! 

Tuesday, January 24, 2012

Dinner fit for a Dragon

It is fantastic that there is so much to celebrate!  By having so many cultures mix together there is basically always a good reason to make a big meal and cheer!   Tonight I cooked a meal to celebrate the Chinese new year complete with miso soup, chow mein, steamed buns and cabbage stir fry(I forgot to make the almond cookies).   I am learning that doing all four dishes in one post is a bit much so this will focus on the chow mein with a bit about the buns leaving miso soup as a lesson for its own post later and vegetable stir fry as a theme I am sure will come up again.

Chow Mein

Long noodles bring long life and for chow mein it is easy to find hearty long rice noodles to serve as the base.  I do this recipe as a combination of vegetable stir fry with a lot of noodles and a little sauce.  

1/2 onion

2 tsp diced fresh ginger

3 cloves garlic diced
1/4 purple cabbage
2 carrots
1/2 C diced shiitake (aprox 5-10 shiitake mushrooms) 
1/2 C broccoli
1/2 C snow peas
2 Tbs okonomi sauce
? soy sauce (just a splash for color and some salty goodness)
? canola oil (just a splash to cook the veggies and another splash to fry noodles) 

Rice noodles cook pretty quick but you want to make sure you give them some time to drain so they dont hit the hot oil too wet. I boil them in water for 5 -7 minutes, dont over do it because they will get cooked more during the frying. 

I ran across the street to barrow a wok, you dont need to use a wok but it helps because the thin metal makes it so you can get a lot of high heat over a large surface area. . .perfect for pan frying a big meal.  


Before we start frying the noodles we want to get the vegetable cooked, I use a large cast iron leaving the wok for the noodles and final mixing.  I start with sauteing the onion and ginger in 1 or 2 Tbs of oil, tossing in the garlic a few minutes later.  The carrots purple cabbage and broccoli make a really good color medley for that visual appetite stimulant.  Paying attention to texture I shred the cabbage (comes naturally to it), 

slice the carrots into long disks with a diagonal cut and nearly minced the broccoli to give a  subtle texture.  In retrospect I could have done more cabbage.  Starting with these three is because they have similar cook times.  I keep the heat on medium high to get everything browning nicely, around 5 minutes, before I toss in the snow peas and the shiitakes which both just need 3-4 minutes of heat.


Now with a Tbs or two of oil get the wok nice and hot, you should notice that just after a minute or two the pan is hot enough to hit the smoke point of canola oil. Throw the cooked noodles right into that high heat and keep them stirring so they dont stick to the wok. ( i let my noodles sit too long after draining and they stuck together so in addition to making ti hard to stir i used a bit of extra oil to try and break them up without mashing them just continually tossing the big chunk of noodles with a bit of oil and heat until it falls apart naturally).  I like ti when the noodles burn a bit so I didnt stir as much as I should have but after a few minutes I toss in the mass of vegetables and keep stirring.  

I was about to make a teriyaki sauce from scratch when my cook partner handed me okonomi sauce to try.  I loved the stuff and threw in a few Tbs with a splash of soy sauce (not too much, we want to keep the water level down).  After another minute I took the dish off the heat and plated it .  

If you are paying attention I mention a few times about keeping moisture and water out of the frying process.  This is because the delicious part of frying is when the heat goes beyond steaming (getting rid of extra water) and starts browning.  By keeping the moisture level of the noodles down the browning happens sooner.  The okonomi and the soy sauce  add a bit to color and flavor but only add them at the end after you are satisfied with the combination of vegetables and noodles.  

Steamed Buns

we made both bbq tofu buns (savory) and red bean paste buns (sweet) and I was not entirely thrilled with the way the red bean buns came out but everyone else raved, I wanted a creamier texture.  


bun dough (a regular bread mix with 9 C flour)
3 C dry azuki beans (also called red beans)
1 C sugar

3 blocks firm tofu (about 3 C diced)
1 Tbs sesame seeds
? Barbecue sauce ( i am guessing 1 C but I lost track)


My cook partner made the dough last night and started the beans soaking so when ti came time to cook it was pretty straight forward, but I am always amazed at how baffled people are by making stuffed buns.  

boil the hell out of the red beans, just like making re-fried beans last week, except I didnt know the correct cook time so I boiled the beans in a pot where I could check on them every 10 minutes or so (too much steam to get a decent picture, my apologies).  While that is going on I shifted to the tofu.

I went looking for a recipe for BBQ suace from scratch but they all started with a ketsup base so I jsut bought a BBQ sauce and used that as my base.  I added extra garlic, vegan worcestershire sauce, black pepper, cayenne, and salt until i got a taste that i really liked.  


Press the tofu no seriously, press the tofu.  it can be as easy as stacking a few cutting boards on it and letting the blocks sit for 30 minuted but driving off the water makes it so the tofu is more likely to absorb flavor.


I simmered the diced tofu in the barbecue sauce with the sesame seeds for 5 or 10 min on low heat, just until the sauce thickened up a bit and the tofu picked up the flavor.  


To finish off the azuki paste pour off all the water and use a hand masker and smash in a cup of sugar.  For no good reason I mixed in a pinch of ginger (I didnt even notice a change in the taste but I wanted to try it, better practice is to take a portion aside and play with flavors in a small helping not just going crazy on the bulk of food, but hey i am still in a weird mood) .  The flavor was awesome but the texture was not how it is when I get dim sum in SF so I will have to try again, maybe some oil, maybe heating the mixture with the sugar so it becomes more like a sauce  . . .not sure but half the fun of cooking is playing!  ok 3/4 of the fun ;) 

Filling the buns is as simple as taking a piece of dough (about 2 Tbs sized) and hand pressing it like a little piece of flat bread.  Put a small spoon full of either filling in the middle and then pull the edges up into a single point using a pinch and a twist to force the dough together.  Tonight we used a straight bread recipe for the dough but often the buns are made with a sweet bread recipe, some people like sugar more than I do.


Ok truth time. . . we didnt steam the buns.  Turns out our house is without steaming baskets (something I plan on fixing next time I go to the restaurant supply store) and our make-shift steamer set up let too much water condense on the buns.  Again water gets in the way!  wet buns are not happy fluffy buns, they get a bit soggy. We shifted to baking the buns which has a noticeable impact on the texture, compared to steaming, but was still amazing and delicious.  The buns baked at 375 for about 12 minutes in a muffin pan and were served hot.


I'll do another exploration of steamed buns soon but for now eat well!  

Friday, January 20, 2012

Re-fried Beans and Spanish Rice

     When you have had a week like I just had you hardly want to get out of bed let alone cook a meal for your house.  It is times like these it is really handy to have a few 'boil' recipes, things where the main step is just boiling, not a lot of chopping or sauteing or mixing . . .just boil.  Of course it should still be tasty and well balanced but hey sometimes the best I can do is not as balanced as I would like.

    My 'go-to' boil recipe is re-fried beans and cheater Spanish rice.

Re-fried Beans

5 C dry pinto beans
2 Tbs garlic powder
2 Tbs spike (powdered vegetable stock)
1 Tbs salt
1 Tbs cumin
5 Tbs oil

You dont have to soak the beans before hand but it helps, a lot.  These beans soaked for close to 5 hrs before I started cooking them in a pressure cooker.  I know a lot of people are frightened of pressure cookers or were not at one point but then had one 'explode'.  I was worried the first time I used a pressure cooker because I heard the 'explode' stories and was like 'woah what do you mean?'  turns out you have to be pretty careless to have a pressure cooker get out of control and even when ti does it mostly sprays hot water around and is not dangerous unless you are in the way.  The point is a well monitored pressure cooker will never get out of hand.  The science behind a pressure cooker can be understood from the phase diagram of water. Arc AC is the boil line for water and the normal boiling point (nbp) occurs at 100 C.  By increasing the pressure above one atmosphere (using a tight lid) the water temperature follows along the curve and the water temperature increases above what is normally considered the  maximum temperature of water.  This decreases cooking time for beans and grains and all kinds of vegetables . .. really you can cook anything in a pressure cooker. . .but I like to poke at things so I typically only do beans.  

For re-fried beans we want to over cook them.  The soaked beans go into the pressure cooker with enough water to cover the beans (if you did not soak the beans make sure it is nearly double the water because beans soak up a lot of water).  clamp down the lid and put the heat on high!  When the pressure builds up the pressure cooker will start to whistle, that is a good thing.  We want the pressure cooker to be right at that pressure where it can barely push the valve open (not the safety valve the regulator valve which is usually just a weight on top).   Turn down the heat and just let the thing simmer along for an hour plus . . . remember we want the beans over cooked so dont watch the clock too closely, but do pay attention if your pot stops hissing turn the temp up just a bit.  

While the beans cook the rice gets started and gives about 45 minutes of down time in meal prep.  Usually this is where I would make something else but today I just hid under the blankets until it was time to check on the rice and beans.

More than half the time I open the pressure cooker early and have to heat things back up. . . since this is a problem I have I dont like to wait for the thing to cool down so I can open it (safety mechanism) so I put the whole pot in the sink and run cool water over it until I hear that hiss click of the drop in pressure releasing the lock.  This time I was lazy enough and the beans were all tender and mushy PERFECT! I dump off about half the water that is still in the pot (you could do all but then you need more oil).


When I first learned about making re-fried beans I was told 'use a lot of salt and a lot of oil . . .dont be scared of it just use it'  and it is true!  A high fat content in your re-fried beans will help create a smooth and creamy texture that is awesome but I dont enjoy an excess of oil so I use some water to get the consistency I like.  These days instead of going with salt only  I use powdered vegetable bouillon which adds a salty sensation and a nice flavor.  Toss in all the spices (I am sure you can use fresh garlic but again for the right texture I go with powders) the oil and with the water you saved just mash them!  You can use a mixer or any other device but my favorite is the hand masher.   I dont know maybe I am old fashioned or maybe I like to feel like I have to labor for my food but it is what I like.


Taste them, add more spices as you like (cayenne is a good one but feel free to get creative and play with flavors like cinnamon and chipotle).  Serve hot and with a tortilla and rice.  


Spanish Rice

3 C short grain brown rice
6 C water
1 Tbs garlic powder
2 Tbs paprika
2 tsp spike
1 tsp salt
2 Tbs hot sauce (tapatio) 


This is my lazy version of Spanish rice, normally i would use tomatoes and fresh peppers and sauteed onions  . ..nah not today.  We got the paprika for color the garlic and vegetable stock powder for flavor and the Tapatilo for a little kick.  

Toss everything in bring it to a boil.  Cover with a well fitting lid and reduce the heat to a simmer for 45 minutes.


Yeah that is it. . .though there is one catch.  I always find that tossing in the extra spices and hot sauce before the rice is cooked rather than using ti like a dressing after or treating the process more like a risotto leaves my cook time a little off.  We want to make sure all of the water naturally boils off leaving a red sauce behind without burning the dish or leaving the rice under cooked.  At the 45 min mark I check the rice and since it is tasty and soft on top I leave the lid off while the rest of the water steams off.
Using a wooden spoon I will carefully move rice at one edge aside to make sure all of the liquid is gone. . . you dont want to go just mixing the rice all around or you will get more starch into the water and your whole dish will come out more mushy and kinda soggy instead of light and almost fluffy with a sauce.    Once the water is gone then you can toss the rice and let the excess steam out, just remember be patient, dont go fluffing your rice before it is time or it will not fluff.  As long as you dont smell burning it can sit at a low temp slowly cooking out the water . . .but once it gets close to done keep an eye on it because even a little bit of burn will toss off the taste.  


To round out the meal we made a cabbage salad and served it all with a warm tortilla.  Considering I spent 45 minutes of my 2 hrs cooking under a blanket in the corner I am pretty pleased with the meal!
 

Wednesday, January 18, 2012

Snack Time! Fruit Salad

I didn't grow up with my dad around much but one thing I remember very clearly (which was reaffirmed not that long ago) was fruit salad.  My dad thought that fruit salad was the perfect way to jump start a day, not heavy enough to slow you down, easy to digest, pack full of nutrients and energy (sugar).  I don't have a fruit salad every day but on Saturdays when the farmers market is running it just makes sense and it is a perfect afternoon snack!  

Now saying I am giving you a recipe for fruit salad is kinda like saying 'hey here is a recipe for soup'  in that there are a lot of different ways to make soups and there are a lot of different ways to make fruit salad.  This is a late winter California fruit salad using locally grown walnuts and almonds, kiwis and apples I bought at the farmers market, an orange off the tree in my yard and, an avocado from the store for extra fat and creamy goodness.  As a topping i use shredded coconut, sesame seeds, golden flax seeds and sunflower seeds.


1 medium fuji apple (but any crisp apple will do, pink lady's are good)
2 ripe kiwis
1 orange
1 medium avocado
1/2 C almonds sliced
1/2 C walnuts diced
1/4 C sunflower seeds
2 Tbs sesame seeds
1 Tbs shredded coconut
2 tsp flax seed
1 Tbs agave nectar (optional)

The recipe is really as simple as cutting everything up and mixing it together but while we got all of this food lets pay some attention.  The mix of colors is good with soft red and orange with a splash of green, what is more in our control is the texture and shape.  Oranges naturally come out as slices but the apple is easily diced into large chunks (acting as our base) .. . I could have done more with the avocado but it is a bit messy so I just cubed it.  Kiwis are where we get to have a bit more fun, we can cut it into rounds, half rounds, cubes, wedges or, even  match sticks.  Honestly I was just hungry and went for a uniform cubed texture.  Now the Kiwi skin is pack of nutrients (so I am told) and should be left on but I am just not that in love with it and compromise but removing about half of it.  

The nuts and seeds and topping get tossed in with the agave nectar (which is again mostly for the texture and a habit from my dads fruit salads which always included a drizzle of honey).  I like to again pay attention to the textures from the topping.  Sometimes I am totally against the addition of shredded coconut just because it does have a big impact on the sensation of eating, but today I was in the mood.  I always love sesame seeds and flax seed, whole and raw.


I know if you do not grind the flax you do not get all of the nutrients and if you do not chew well will get none of the nutrients so chew well and enjoy the little pop of the occasional flax seed  as you do.  I slice the almonds and dice the walnuts extra fine, until they are more like walnut meal which will soak up the fruit juice and agave to make a sauce, a delicious fruity nutty sauce. Toss it all together with the sunflower seeds, adding more of what ever you like or leaving out a bit of what you don't like.


This fruit salad has it all: sugar, protein, fat, delicious flavor, awesome texture and great color!  When I went to take the above picture I kicked myself a bit. . .see that sprig of mint in the back, well I forgot to put mint in my salad! it just adds a little zap of freshness that leaves your pallet feeling clean.  I diced some up quick and tossed it i my second helping, this particular mint, growing in our front yard, is chocolate mint so it also has a nice earthyness to it that is cool and refreshing.

Saturday, January 14, 2012

Indian Food for Ten

When you start to plan a mean there are a few things to consider.  The quantity of food is of course important but there are textures, flavors, colors and of course nutrition.  A lot of the traditional food combinations you find in cook have had centuries to develop these combinations; so once I decided to make Indian food for dinner this week I already had a good idea of the courses:

Rice
Dhal Soup
Yellow Curry
Pita Bread

and since I like to have a bit more green in my meals this menu augmented with a Kale Salad.

Having only two hours to cook a meal for ten people used to stress me out but after cooking in cooperatives for a few years you learn  few tricks about the order in which things cook.
1) The dhal soup just gets better the longer it simmers so starting this first makes sense
2) The yellow curry takes more prep and about 45 minutes to simmer flavors together
3) The Kale salad needs about 30 minutes to marinate
4) The rice (since it is a long grain white) only takes 15 minutes to cook
5) The pita cooks quick as long as you do the prep work earlier in the day (or get a friend to do it like I did)


Dhal Soup
Perhaps one of the most important steps in preparing a good Dhal is spicing it correctly and one of my favorite things in indian food is tempering spice:

3 Tbs of canola oil
2tsp mustard seed (brown or yellow)
1tsp coriander seed
5 seeds of fenugreek 
1/2 tsp asafetida
1/2 onion Diced


After the oil heats up on high toss in all of the seeds and let them simmer ( i like to wait until the mustard seeds start to pop, it adds an extra smoky flavor) and then toss in the onions and asafetida with the heat turn down to medium.  In about 3-5 minutes the onions should be soft and starting to brown.

6 C red lentils
2-5 cloves garlic
2 C tomato puree
8-12 C vegetable broth

I used red lentils in tonight dinner instead of yellow because the store where I shop does not have organic yellows, but either will work.  Toss the lentils and garlic in with the hot oil and spices making sure to keep string for a minute or two until the vegetable broth is added.  

The wide range in vegetable broth amount is because I am terrible at measuring and it really depends on how thick you like Dhal, I like it a bit thinner so I go closer to 12 C of broth.  Add the tomato puree after the broth.
The time from heating the oil to adding the tomato puree ( of which i sued the Muir Glenn organic fire roasted tomatoes) now should be on the order of 5 or 10 minutes leaving over 90 minutes for the soup to simmer and the lentils to fall apart.  At this point you can more or less leave the Dhal alone giving it a good stir every 15 minutes or so.  
After an hour you want to check the soup, salt and pepper to taste adding extra garlic and vegetable broth as needed to get the flavor you like (it helps to have someone taste with you to double check your taste buds)


Yellow Curry with potatoes and Carrots
The vegetable combination to make a good curry is not that hard, most of the focus of flavor is in the sauce so the focus for vegetable combination is on texture and color. 

10 medium red potatoes
4 large carrots
1/2 head purple cabbage
1 bag frozen peas
1/2 onion

The potato and carrot base makes for a good amount of bulk and subtle taste underneath the curry, I like to leave both in large chunks.  A bag of frozen peas adds a nice pop to the texture and just a hint of color that catches the eye.  Purple cabbage i am in love with, rich color, soft texture, packed with nutrients and does not do much to shift the flavor, i toss in half a head sliced into ribbons just for fun, leaving it out is totally acceptable as well.

3 Tbs of coconut oil
2tsp mustard seed (brown or yellow)
1tsp coriander seed
5 seeds of fenugreek 
1/2 onion diced
3-5 cloves of garlic
1 C tomato puree
1 C coconut milk
2-3 C water
3 Tbs yellow curry powder
1 Tbs turmeric
1 Tbs agave nectar (optional) 

The curry uses tempering spices again but I like to use coconut oil for the extra flavor, you just have to more careful with the heat (keeping it lower) to keep the oil from smoking.  So toss in the mustard seed, fenugreek, and coriander, until the mustard pops then in go the onions for 5-10 minutes  until tender and browning.  The Garlic, Potatoes and Carrots go into the hot oil and simmer together for 2 minutes or so.

the base for the curry is a combination of coconut milk and the tomato puree, the extra water  is to make sure the carrots and potatoes are covered to boil in this delicious combination for 20-30 minutes.  


The turmeric and curry powder go in right at the same time as the water but dont add the peas and cabbage until after the 20 minutes or they will cook to mush while the potatoes are still under cooked.  I also like to sneak in 1 or 2 Tbs of agave nectar here, the little bit of sweetness helps to cut the bitter flavor from the extra turmeric without upsetting the spicy earthy flavor.


Saffron Rice
The rice is one place where I actually get out my measuring cups, having the right proportions makes all the difference between soggy rice, crunchy rice and the perfect fluffy rice you always want.  

4 C jasmine rice (or basmati, or any long grain white)
6 C vegetable broth
1 Tbs canola oil
6 stems saffron
1 tsp tumeric

in truth less than a tbs of oil is fine . . .you just want enough to coat the rice while it is being simmered with the saffron and turmeric (which is more for color than for flavor in this case).   
after only a minute of constant stirring at medium high heat add the hot broth.  It is important that the broth is hot or in addition to the extra cook time to heat it the rice may end up soaking too long and get a bit more soggy than desired.  the most important part here is waiting, bring the water to a boil turn the heat down to a low flame, cover the rice and just leave it alone! 
White rices cook pretty quickly, I usually give 15 minutes with a check at 10 minutes to make sure I dont burn it.  This time when i cooked the rice it only took about 10 minutes but I also forgot to add the vegetable stock (using just water) and had to fix it post cooking.  A sprinkle of powdered vegetable bouillon and a pinch of salt  added when fluffing the rice after the cooking.  


You will have to come back to get the pita and the kale salad but put it all together to make a balanced meal

and enjoy with friends!