Showing posts with label full meal. Show all posts

Tuesday, June 25, 2013

Southern Comfort


     Nothing quite says comfort food like Biscuits and Gravy. . . unless it is biscuits and gravy with a side of grits and french fries.  While I was hitting the blue ridge mountains I was lucky enough to get in in my friends tiny kitchen and cook a vegan meal southern style.  

     The gravy is my pretty standard mushroom gravy (which I still want to try and make wheat free).  Caramelize some onions in oil (i like coconut oil for this because it does add some flavor so feel free to go with olive or safflower) , toss in diced garlic and sliced mushrooms.  while those are browning you can prepare a rue by whisking hot vegetable stock with white flour. I make my broth with the vegetable paste 'better than bullion' and for gravy I will add some soy sauce, vegan Worcestershire sauce and a dash of braggs.  The amount totally depends on how much gravy you are making but be careful it is pretty easy to make the rue too salty.  You can always fix it by adding more water and flour but too far will start to dilute the taste.  

     The fries are also my regular midnight snack of potatoes cut and tossed in olive oil (no peanut oil in this house but olive oil does wonderful!) and baked at 425 for 30-40 minutes.

     Grits. . . basically polenta which are both corn meal based.  The finer details don't trouble me much because we can get the 'feel' or 'taste' in the cooking process.  starting with the intended product may make it easier but a bit of kitchen trickery and I doubt you could tell which witch is which.  The recipe I followed for this grits (starting with grits) surprised me as it called for a tablespoon of sugar!  The slightly sweet grits were really quite good but I made them again alter in the week and went for a savory gris and like dhtat a bit more.  here is how both go:

3 C water
3 C almond milk (for creamy sweet) or 3 C Vegetable broth (for savory)
6 Tbs Butter ( used earth balance coconut whip so they were soy free)
2 tsp salt
3 Tbs sugar (leave out for savory)
2 Tsp pepper (leave out for creamy sweet)
1/4 C nutritional yeast (leave out for creamy sweet)
1 1/2 C Grits

mix everything together, let the butter melt in then stir in the grits simmer for 5 minutes and you are golden!  

[This recipe comes from a quick google search (http://southernfood.about.com/od/gritsrecipes/r/breakfast-grits.htm) ]

     For the biscuits. . .well you know how I am with baked goods.  There is so much detail to include and precision needed for great baking that I will have to do a biscuit post some other time.  For now Enjoy grits, enjoy gravy and always eat well.

Sunday, April 21, 2013

Pizza for Days!

I dont know if it is the stress of traveling, the unfamiliar food of eating out too much or the lack of organic produce but when I am not in my own kitchen I never feel as good.  So when I got home from a conference in Monterey CA I was keen to do something exciting!  Fortunately my cook partner justin was on the same page and we made pizza!  

People always debate whether a good pizza depends on the crust or the sauce or the cheese/toppings.  Ill tell you now IT IS ALL THREE.  Sure you can still pull off a good pizza if the crust is perfect while the sauce is just ok but why bother with ok when you can have a really top notch pizza by getting all three right?  

First the dough:  
If there is a good bakery or pizzeria around the easy way is to buy your dough from them (which is what we did).   They have the industrial mixers and  A LOT of practice in making dough.  If you have the time of course make your own dough.  Not only does this give you the satisfaction of doing it all but it also gives you the chance to add extras (garlic, rosemary, dried basil or other spices, be creative).  A simple home recipe is 

7 cups white bread flour 
1 level tablespoon fine sea salt
1/4 ounce active dried yeast (about 1 tsp)
1 tablespoon raw sugar
4 tablespoons extra-virgin olive oil
2 1/2 cups lukewarm water

First mix the warm water, raw sugar, olive oil and yeast in a bowl and let it sit.  While the yeast wakes up sift the salt into the flour.  Slowly add the flour to the water with a gentle fluid stirring motion.  The idea is to work up the gluten from the flour into long elastic strands.  Mixing too fast or vigorously will break this process. Once it become stiff flour your hands and begin to knead the dough ball in a fold->rotate->fold process (check out The Tassajara Bread Book for a great pictorial representation). 

Let the dough sit for an hour while you make sauce and toppings!  

Sauce:

This is one of those things that I need to measure better.  I start with a can of fire roasted tomatoes.  Getting fire roasted tomatoes makes  a big difference so really go looking for them.  Again you can make your own but this adds another hour to the prep time.  The roasted tomatoes have their natural sugars better accentuated while also obtaining the rich full body of roasting.  Simmer the tomatoes for about 45 min on a low heat.  Add a touch of salt and pepper and really that will already be a wonderful sauce.  Of course I go further adding some crushed garlic, fresh oregano, minced parsley and some olive oil. The amounts of each depend on the flavors you want to have.  More garlic will give a bolder taste , more oil will give a smoother texture, fresh herbs will add complexity.  Just remember   after you add something wait 5-10 minutes for the flavor to mix before tasting and deciding to add more.

Toppings

I like to make cheese sauces with blended almonds and nutritional yeast but on this pizza I went for a hearty summer feel.  There are caramelized onions, mushrooms sauteed in olive oil, thin sliced green bell peppers and eggplant pan fried with coconut oil and a splash of balsamic vinegar.  

Creation:

get that oven heating to 450 or 500 with a pizza stone in the over.  IF you dont have a pizza stone you can fake it with a heavy baking sheet turned upside down but really that ceramic stone is important to baking the pizza evenly.

Since we have good crust, good sauce and good toppings we want to construct our pizza with a balance of all three.  We push our dough down and  knead it into a ball, cut off a portion and roll it out to a 1/4 inch thick.  Dont try to make a big pizza by rolling out the dough thinner just use more dough for a bigger pizza.  spoon the pizza sauce on and spread it so it is nearly even but not so tick that you dough is totally hidden.  If you like a saucy-er pizza I suggest keeping some sauce in a bowl for dipping, too much pizza sauce on the dough will interfere with the baking.  Same is true for toppings, they should be evenly distributed but not completely obscuring the sauce.  I always have a tendency to overload my pizza with toppings but each component has a flavor it is adding, more toppings does not necessarily enhance the flavor. . .Balance between the flavors is the goal.  

The pizza bakes for 15-20 minutes depending on the heat of your oven and how much stuff you put on top.  You want the crust to go golden while the pizza stone cooks the dough from underneath to create a solid crust the whole way across.  


we served our pizza with a tomato lentil soup full of the vegetables we had on the pizza and a simple green salad with olive oil and balsamic vinegar.  


In the above picture you can also see the baked potato pizza which featured an almost 'cheese' sauce.  As is always the case with pizza I am ready for more!  

Wednesday, December 19, 2012

Davey's Macaroni

About a month ago I tried a relatively new restaurant in Oakland called Home Room.  This hip place features a menu of many macaroni and cheeses with ad ins that make the combinations nearly endless!  To my enjoyment they even have a vegan option!  The service is wonderful the ambiance is just to die for and the food is decent.  The brussel sprout appetizer was by far my favorite, but the fresh green salad had a simplicity that was refreshing without being boring.  The mac and cheese was unfortunately not that great.  It was good, with a  soft cheesy flavor but the sauce was watery and the extra cost for mushrooms was way too much for the quality. Unfortunately the sauce was too thin and I am used to a more bold flavor for my not-cheese sauces.  Still I would recommend it for an quick bit in Oakland.
Homeroom mac 'n cheese with peas and muchrooms


At this point I have to admit that I am biased against most mac 'n cheeses because I have had what is arguably the best mac 'n cheese.  It was introduced to me by my friend Davey.  Brussel sprouts still being too expensive I made a side of collard greens and a kale salad.  

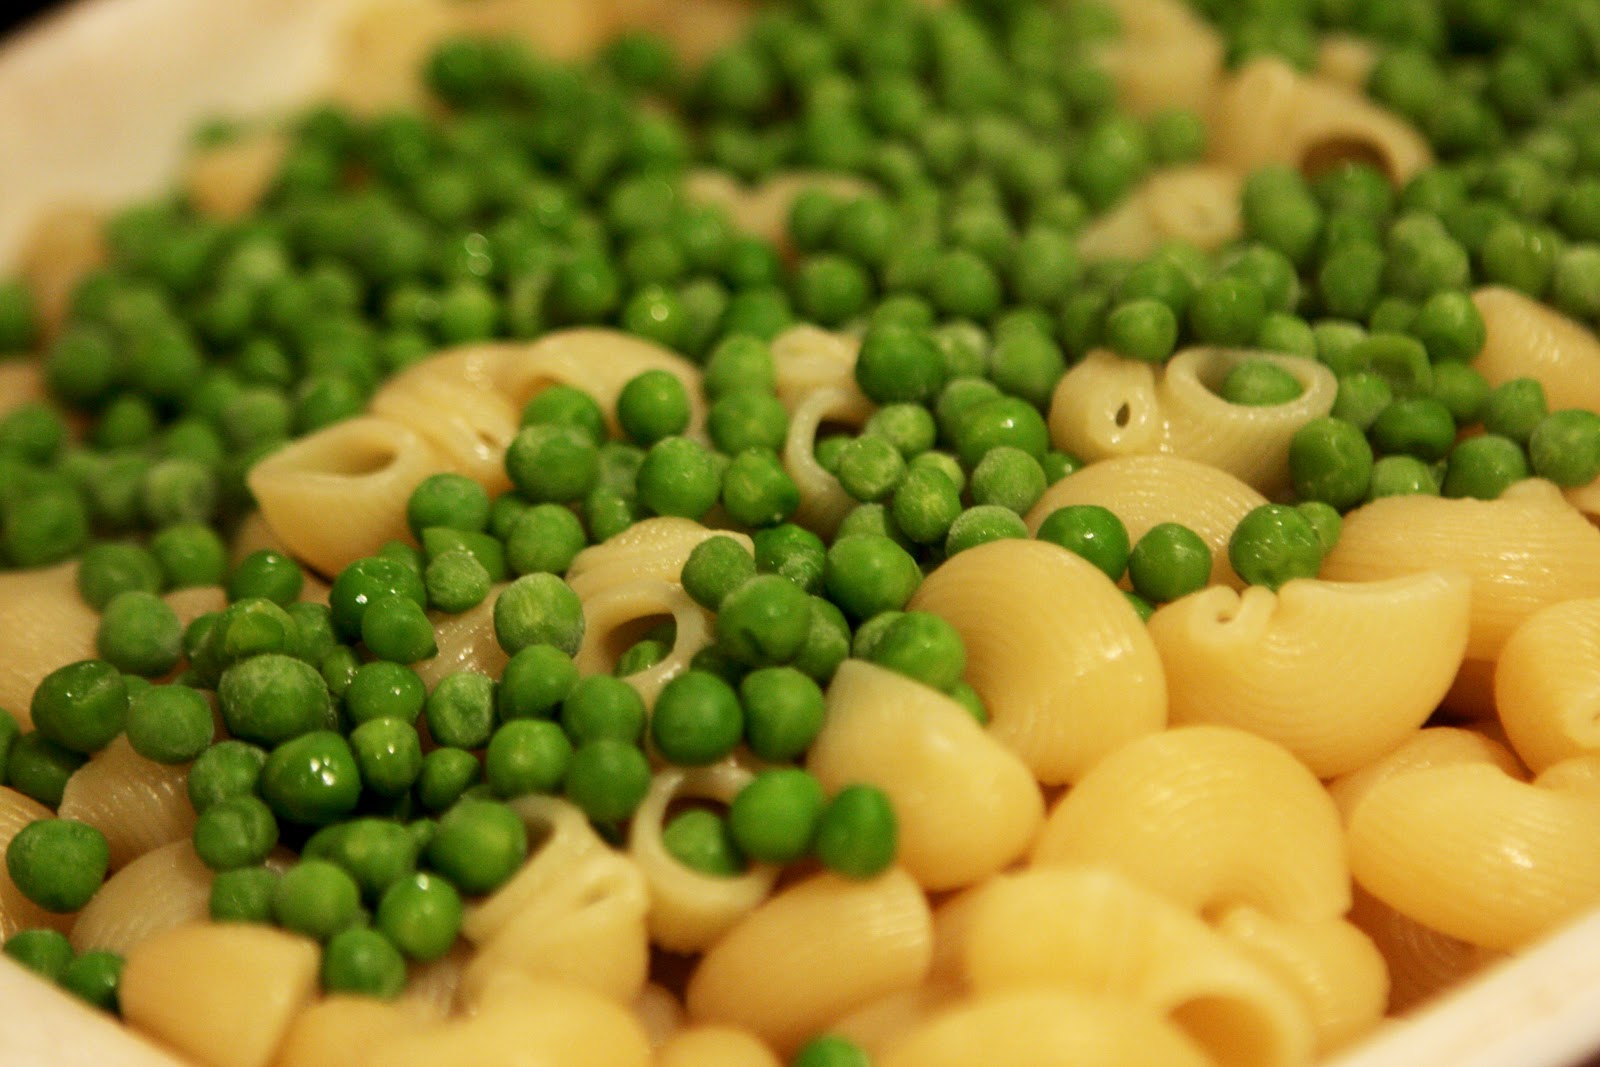
Lets get down to it and turn this:


into this!


Mac ' Yeast

What I love about this recipe is how surprisingly simple it is to make with amazing flavor! This is one of those dishes that really proves anything can be transformed by a good sauce.  As the name may suggest the basis of this 'cheese' sauce is nutritional yeast.  In a blender place:


1 C soy milk
1 C water
1/3 C Soy sauce
1/2 C firm tofu
1 1/2 C nutritional yeast
1 Tbs paprika
1 Tbs powdered garlic
1 Tbs salt (or powdered vegetable bouillon)
1/2 C safflower oil (or your oil of preference)
This all get blended together until it is smooth and creamy.  As with most sauces the importance is the balance between fat and flavor (where flavor is usually water based).  The tofu in this acts as a great source of protein and more importantly as an emulsifier to keep the water and oil mixed.  The proportions above are good for about 1 lb of pasta and you can adjust the thickness of the sauce by adding more or less water (though I tend to go for a thicker sauce).  This sauce is going to be baked so don't make it to thick or you will burn! 

I used 2 lbs of pasta and doubled the above proportions with one bag of frozen peas (aprox. 12 oz).  It is ok to under cook the pasta a little, even preferred, because we are going to bake this whole mess at 350 F for 15-25 minutes.  if you made your sauce to thin you can bake it longer to thicken it up but really this step is for mixing the flavors and giving a nice crust to the top layer of macaroni. 


before oven                                  .  


after oven                                         .

The extra sprinkle of paprika and nutritional yeast is just for effect and hardly effects the flavor.  

Kale Salad

I did some pretty simple side dishes with steamed broccoli and a kale salad. This kale salad was a mix of karinata kale and red Russian kale with shreds of carrots and golden beats.  The dressing was an orange ginger vinaigrette and the sesame seeds were added in excess (just the way I like it).  I have done kale salad a few times so feel free to look at old recipes.  Again the secret is in the sauce, balancing acid with fat and flavor.  Sometimes Kale makes this extra tricky because you want the acid to sit on the kale for 20- 30 minutes before you add the fat and flavor.


Steamed Broccoli


The broccoli was simply cut up and steamed but the secret to delicious broccoli is getting ti fresh as possible.  the less time ti sits off the plant the sweeter it will be.  If you can get a young broccoli and get ti picked fresh that day you probably dont need to steam it and could serve it raw with a  spicy or savory dipping sauce where the natural sweetness of the broccoli balances out the flavors.  I know you probably dont think of broccoli as being sweet but man it can be surprising! 


Collard Greens

If you are trying to eat local and winter comes rolling round you best make friends with collard greens.  The nice thing is that they are such a common treat for some sub cultures in the USA that figuring out how to cook them is not that hard.  As you might suspect it is high heat with a  good oil and some onions and garlic for the yum factor.  Collards come in big broad leaves (we are talking a foot wide) that are easy to wash and prepare.  Just cut out the stem (save them) and then slice the leaves into manageable strips.  make sure you use 'too many' leaves as this is much like spinach and other dark greens you cook, they loose a lot of volume when you apply heat.  It is common to blanch the leaves before cooking (dip them into boiling water fr a minute) as this cuts down on the bitterness and makes a more manageable volume.  I prefer to use an acidic cooking stock to cut down the bitterness, typically lemon juice.  By avoiding the water you get to hit the leaves with full heat of the skillet and it gives them a nice sauteed flavor that I always have trouble getting if I blanch first.  

Eat it up!


Tuesday, July 24, 2012

Chilli Con YUM!

Chilli does not inherently mean chilli con carne, I know most people jump to that conclusion and instantly ask me 'chilli how do you make that vegan?' but chilli actually refers to the plant! if you make a meat stew with tomatoes it is just a meat stew until you add the chilli.  So the question becomes what makes a good chilli?

Mostly it is this mass of stuff.
The 'sausage' on the right is a vegan soy and wheat based  medium for flavor and spices and usually I dont use products that most refer to as 'meat substitutes' (really they are nothing like meat and calling them a meat substitute generates a false conception of what you are eating) because I like to avoid processed foods but I got it as a gift and dense protein like that goes a good distance for bulking up a chilli.  

Chilli Con Vegetables:
     The key to the chilli I make is having a strong vegetable base, using vegetables that caramelize or release sugar at the same time the supply earthy undertones.  This of course means onions(1/2 diced) and garlic (5-500 cloves minced) but also includes potato (didn't use it this time), Corn(didnt use) carrot(3 average), zucchini(2 small) and beet(1 average).  I particularly like using red beets because it makes the color of the chilli POP and adds a sweetness that is balanced by the spicy.  Of course if you go too heavy on the beet you end up with something that looks other worldly in the vibrancy of its reds.  
The root vegetable base is shredded so it will cook down fall apart and turn into a sauce.  This means the chilli should be started early because it takes over an hour of simmering vegetables in oil to get them to start to fall apart.  I usually simmer the onions a bit before that and add the bell pepper and garlic a bit later, though the bell pepper does not fall apart quite the same way leaving a few chunks for diversity in texture. 
(side note:  while the vegetables simmer you can pressure cook the beans which also take about an hour)


 After the vegetables starts to brown and fall apart you can toss in the veggie sausage and break it into nice bit size pieces and let it all keep simmering until the vegetables really become mush.  


 The mush never looks that good but oh it smells mouthwatering and now it is time to turn the mush into sauce.  The main part of this is adding fresh tomatoes (or some tomato sauce) and to my luck the sun golds were ripe early this year so they made an awesome chilli! Wash them and cut them in half to facilitate the 'saucing' and add in some extra olive oil (2-4 Table spoons).


By now the beans are hopefully ready.  What beans you ask?  well as I do I usually use a base of pinto beans(2 C dry) add in some kidney beans (1 C dry) some black beans (.5C dry) and Garbanzo beans (.5C dry).  Keep in mind those amounts will make A LOT of chilli but if you make it right it will not last that long.  Pressure cook the beans with 10C water (reduce the amounts of beans if your pressure cooker is smaller).


Once the beans go in (they can be a bit under cooked since they are going to simmer) the chilli is essentially ready.  It is not really ready until it simmers for at least an hour. In all honesty it would be even better if it could simmer for three hours (and even better if you let it cool and sit over night before reheating and serving).


Zucchini Corn Bread:

     I pretty much made up this recipe on the spot combining my friends zucchini bread recipe (dont know where she got it) with my favorite corn bread recipe (came out of vegan with a vengeance or how it all vegan or from another friend but ti has been in my recipe box long enough that I dont know anymore) 

Mix the dry ingredients (white flour, corn flour, baking soda, cinnamon, sugar, salt), fold in the wet ingredients (oil, water, vanilla, zucchini) until it makes a nice heavy batter.  This stuff is dense so try not to over mix it, press it into a pan and bake it at 350 for 45 minutes (you can make it while the beans and vegetables are cooking) 


I served it with a Spanish rice, a strawberry smoothie and a few slices of melon.  


It is a great meal to celebrate 11 years of being vegan :)

Sunday, May 20, 2012

Salads for Dinner

Some days are just not what you want them to be. . . .your mind gets stuck on some idea and you spend a beautiful day inside writing letters you are never going to send. There is only one thing that helps . . . 
COMFORT FOOD

Potato salad, pasta salad a nice green salad to get those vitamins minerals and fiber and then a bean salad for that protein kick that makes tomorrow easier.  Ill tell you right now that this is going to be level less 'recipe' than usual.  I did some experimenting with the potato salad and it was PHENOMENAL.  

So lets turn this mass of veggies---->
<----------- into this mass of tasty!

The pasta salad get nixed in this post, because well it is a day like that but it is pretty simple.  Cooked pasta tossed with peas corn garlic and olive oil.  Salt and pepper to taste. For ratios you want to aim for something that is mostly pasta accentuated with some vegetables. 

 The green salad is also straight forward.  I used a spring mix with raisins, sunflower seeds, flax seeds, diced almonds, some shredded radish and a sprinkling of calendula petals for color!  Calendula (aka marigolds) have edible petals  that dont have much in the way of flavor but add amazing color to salads with a texture that is consistent with the rest of the dish. 

Bean Salad:
   Using a pressure cooker (or enough forethought that you soak the beans beforehand and have enough time to cook them)  prepare enough beans for your meal; I did about 3 cups dry white beans and 1 cup dry kidney beans (it comes out to about 6 cups of cooked beans) 

 I diced in some raw beets to add some color and sweetness and a bunch of long beans cut into one inch segments.  I also shredded carrot and zucchini into the mix.  Not only does this give an additional texture and some bonus vegetation but ti also provides more color which makes your typical bland bean salad seem fun and exciting! 
Seasonings can be as simple as salt and pepper but I strongly urge the use of some summer time herbs like oregano basil and thyme.  We had a bounty of rosemary in the kitchen so I used that as my primary flavor, using paprika to add a bit of spice and color (yes paprika can have spice you just need to get the fresh stuff)


 of course I used fresh grated garlic, yum! 

I tossed the salad with a combination of olive oil and white wine vinegar (though you can use any vinegar you like).  I wan to make up some measurement for how much I used but I honestly have no clue, though you do want about equal parts oil and vinegar!  The goal here is to make the salad moist without drowning it, add in slow amounts alternating olive oil then vinegar (too much olive oil is easier to deal with than too much vinegar) until the beans are evenly coated without there being a pool of 'dressing' in the bottom of the bowl


Potato Salad:
    I have a problem with potato salad. . . I dont like mayonnaise.  I didnt like it when I was an omnivore and i found the vegan versions just as unappealing.  I still used it when I was making some dishes but damn it!  I didnt want to this time.  I used an adaptation of a cream sauce I made for a pasta primavera alfredo.  Again with a bit of forethought I would have soaked the almonds for 30-60 minuted before I made this but i didnt know I was going to do this until i was in the store holding a jar of vegan mayo and cringed.  

I blended 1 cup of almonds with 1 large block of silken tofu (seemed about 2 cups worth) and 1/2 cup olive oil.  knowing that this was going to a potato salad I was not shy about using some vinegar to thin it out (just a couple table spoons) 


I used mustard, a pinch or two of salt and a bit more vinegar for flavoring while a few more splashes of olive oil were there to push the sauce to a more creamy texture.  I was surprised at how quickly  it all came together but in the time it took the potatoes to boil I ended up with my own vegan sauce for potato salad (That I refuse to call mayo because it is nothing like that stuff).


You cook the potatoes . . .just boil them.  I like to used red potatoes boiled in an open pot so I can make sure they dont get over done.  For my house i sued five pounds of potatoes (you might as well too because left over potato salad is GREAT).   


Mix the potatoes with the almond-tofu sauce (lets call it almofu sauce, or someone make up a word for this stuff we need a vocabulary to describe these things that does not relate it to some dairy counterpart) a hearty helping of black pepper and grated garlic ( i must have grated 20 cloves for this meal) and some diced parsley.  I also diced it the celery greens because I like the color and flavor.  I dont grate carrots for this dish, I coarsely chop them with the celery because then everything has a comparable texture.  I also use a few spoon fulls of sweet pickle relish to round out the pallet of sweet, sour, salty, and spicy.  

I feel like I am forgetting something but like I said it was an experiment and I will have to repeat it again and see what changes. . .though i hope nothing because I could have eaten this potato salad for days! (though my brother would not even try it, he has something against pickles in relish form or otherwise).


(the change in coloring of the potato salad is due to lighting only)

Enjoy!

Monday, April 23, 2012

Pumpkin Curry

Somehow we made it to this spring and had some extra squash around and only one thing seemed appropriate,  Pumpkin Curry! Of course I decided to make Garlic Nann to go with it and I tried to do some fried rice but oh man it was failing. . . I managed to save it by transforming it into coconut fried rice, using the extra flavor to help out my texture issue, turned out everyone loved it and it complimented the garlic potatoes well.


             So lets go ahead and turn this:


                                          into this!


Pumpkin Curry:

 I am sure there are a lot of ways to prepare the pumpkin (and roasting will bring out AMAZING flavor) but for time I just cube it and steam it. I remove the skin before hand so I don't have to cool the squash peel it and then reheat, yes it is technically easier to peel it after cooking but it does take an extra step.  Normally I dont steam with herbs but there was enough extra majoram and Basil that I figured why not! I used one butternut one pumpkin and one squash I didn't know the name of. I diced it all and steamed about 5 cups worth (maybe 6) for 15 to 20 min. 


I over-did the steaming a bit (which i don't suggest).  The pumpkin can come out of steam a bit more firm than you would like since it will get cooked during the simmer period.  The end result was something a bit more soupy and not as chunky as I like but WOW it went really well with the Nann and rice.


I used: mustard seed, corainder seed, and fenugreek as my tempering spice (1 tsp each in 2 Tbs oil) heating them in oil until the mustard began to pop a bit before tossing in raw garlic and onion> I dont know why but there was an eggplant in the fridge so I went ahead and diced that and tossed it in the oil to cook down and brown in on a medium high heat.  

I simmer the garlic onions and eggplant in a big pot with the seeds  because I knew the next step was to toss in the pumpkin which I mixed with one can of coconut milk (shake it before you open it so the fatty part mixes in well) with a good head of basil (probably 1/4 to 1/2 C worth of diced basil).  No tomatoes went in but if you have one or two dice them up (just adds a nice body and acidity). The heat gets turned down and the second series of spicing happens! Golden curry powder extra turmeric extra garlic powder then salt an pepper to taste!  No . . .I dont know how much of each but by my estimation a good 1 Tbs of curry a tsp of turmeric and maybe 2 tsp of garlic, it is important to note these extras are to round out the curry powder I get at the food coop and almost all curry powders are different so you will have to go for what you like and maybe include some paprika for spice, cumin (not suggested) for earthiness, ginger or cinnamon for aroma, and so on.  After I had a balance of flavor I liked, I put in a pinch of Asafoetida. . .I dont know who to describe its flavor but it just makes all the flavors pop.  Now you can just let it all simmer on low heat with the occasional stirring to keep it yum! 


 Garlic Potatoes with Greens:
This dish was an add on because I needed something to round out the meal and . . .I love potatoes!  I boiled the potatoes (about 3 lbs cubed) in my extra water (see rice mishap) which was just 2 to 3 cups of stock with some turmeric, pepper and oil.  It only takes 10 min for the potatoes to get soft in boiling water so while that is going I sauteed onions with garlic, mustard seed and cumin seed.  Once the onions were brown I tossed in all the stems from the collards, chard and kale with some random asparagus I found in the fridge, which happened to be just before I threw in my cooked potatoes (just a minute after the stems literally or the stems will go to mush) 
it occurred to me that my pan was not large enough to accommodate all of my greens so I moved it all to a pot, since the essential saute steps were done. Just a bit of water and let it all steam together, giving it a quick stir on occasion.  once the greens were getting down I grated 5 cloves of garlic in and added a Tbs of butter, just like that it is pretty much done! 

Coconut Fried Rice:
So . . .sometimes when you are trying to take pictures of your rice as you brown it before you put in your vegetable stock something silly happens where you forget to measure the amount of stock you are putting in. . . with rice that is very bad! Using a long grain brown the rice to water ration needs to be just below1:2 and somehow I put in 11 cups of stock for my 4 cups of rice. . .I took out as much about 3 cups and used that for the potatoes (which really improved that dish) but Being off in measurements my rice came out a bit more mushy than I usually like. . .I am a fan of firm rice and. . .when you are making fried rice, having your grain on the firm side of cooked is ideal.  This made it hard to get a 'fried' feeling for the rice but we will get to that.  Just a tea spoon of turmeric in the water and your rice will come out awesome colors!  I also used 1 bag of frozen peas, tossed in when the rice was turned to a simmer.  This adds some nice vegetable matter but more importantly fancy color.

Using brown rice the cook time is about 45 minutes on simmer, that is after it is brought to a boil.  keep it covered the whole time with a well fitted lid (or if you put too much water in let the last 10-15 minutes go un-covered).  Right when the rice is almost done use a bit of oil to saute up some onions and carrots. . . or if you forgot to save some carrots steal a bit of your friends carrot,beet,radish salad and saute that.  I only had a bout a 1/2 cup of veggies and ideally for that amount of rice I would have closer to 1.5 cups of veggies to stir fry in.

With the limited vegetables and the consistency of the rice I made a last minute decision! I tossed in about 1 cup of shredded coconut and 3 Tbs of coconut oil. This little trick transforms my yellow rice with a little bit of fried veggies in to COCONUT FRIED RICE! ta~dah! The coconut oil is a key part of getting the flavor to reallt stand out while the shredded coconut does a bit of texture and is really nice sprinkled on top to give away that it is coconut fried rice. 
Garlic Nann:
I rushed it. . . I didnt give the dough enough time to rise but what you see above is 4 cups of flour sifted with 1 tsp salt and 4 tsp baking soda on the right is 2 cups warm water with 1 Tbs sugar and 2tsp yeast ( I think another tsp of yeast would have been good but I already didnt have enough time).whisk in about half the sifted flour always stirring in a smooth clockwise direction.  Once the dough become just slightly stiff and smooth let it sit for 40 minutes (or in this case ten).  Toss in 5-500 cloves of grated garlic ( i used about 10) and add a few green onions for color effect (I didnt do it this time) and begin adding the four again.  stir at the edges making sure you rip through the nice strands of gluten as LITTLE as possible.  once the dough begins to ball you can knead it for 10 minutes on a dry floured surface.  Give it another 40 minutes to rise (or in this case 5 minutes) before cutting ti into little balls that your can easily roll out.  


Turn your griddle (or your cast iron over flame) up to high until the thing si hot then turn it slightly down to medium high and give each side 3-5 minutes.  once it is golden brown and puffy you are ready to east!

Even with the mishaps that were regular in this weeks meal everything came out great! If I didnt keep complaining about the rice people would have thought it was all on purpose! the flavors complimented each other better than I expected where the coconut rice was a nice change up from the garlic potatoes and garlic nann.  the salad (not discussed above) was the perfect color and taste to round out the meal (thanks Ashley)